After an Offer is Accepted
A guide to the process and stages from acceptance of an offer to getting the keys to your new home.
Step 1 – Getting A Survey

Once your offer has been accepted, the first things you should do are;
-
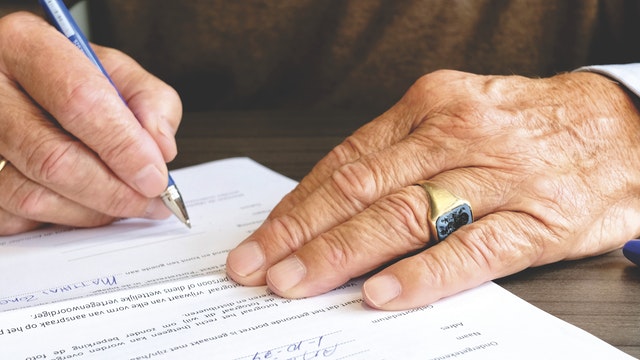
instruct a solicitor
-
turn your mortgage offer in principle into a firm offer
-
organise a survey to be carried out – this is usually done through your mortgage provider
The first two items are the quickest and easiest since the first can be done with an online search (or we can make recommendations) and the second by requesting this from the mortgage provider you have a offer from. Getting a survey has more options so we’ll focus on this here.
The survey is required to assess the property’s condition and value. The solicitor will be needed throughout the process to organise contracts and carry out searches (more on this below).
A basic survey is a requirement of all mortgage lenders however the survey required by the bank is just a simple one for them to check that the amount you are going to pay for the property is what it is actually worth.
More detailed reports are also available as well. They cost more and could affect the valuation given, as the same surveyor would usually do both, but they can provide invaluable information.
These additional report options are:
-
A homebuyer’s report – this comments on the condition of those parts of the property which are easily accessible or visible. The surveyor will recommend any further investigations they think necessary e.g. roof repairs or a new boiler being required.
-
A full structural survey – This is a more comprehensive survey than a homebuyer’s report and therefore the most thorough way to check the condition of a property. The results of the survey will cover a number of the same items as a homebuyer’s report but will go into more detail.

Make sure that the surveyor you use is a member of the Royal Institution of Chartered Surveyors or the Incorporated Society of Valuers and Auctioneers although in most cases the mortgage provider will specify who to use.
When you view the property yourself, look out for any signs of problems like cracks or damp patches so you can point these out to the surveyor later for them to inspect properly.
Where the survey does reveal serious problems, you are free to withdraw your offer.
If the problems can be fixed, you may be able to use the survey results to negotiate a reduction in the sale price to compensate you for this extra expense.
Step 2 – Searches

Once the survey has been carried out and you’re happy with the results the next thing to do is to carry out the searches. These will be organised through your solicitor and they will explain all of the options but to give you an idea a brief description of each of these are below, with the ones that are required and the ones that are optional.
Required
-
Land Registry Search – provides information on who the property is currently registered to and how far its boundaries extend to.
-
Local Search – this will provide the mortgage lender with all the information the local authority hold on the area around the property. This is important as it could flag issues which could affect the value of the property such as land contamination, major works in the area, charges or debts owed to the local authority etc.
- Drainage Search – this will reveal what the property’s mains drainage connections are, who is responsible for maintaining them and if there are any public sewers within the boundary of the property.
-
Environmental Search – this provides information on whether there are any environmental risks in the area that could affect the value of the property. The result of this search will be a status of “passed” or not. If the property has passed this means there are no factors that are deemed to affect the value of the property however detail will be given on all risk factors, including flood risk so it is important to read the report even if the property has passed.


Optional
-
Chancel Search – this search confirms if the property is in an area which could be affected by a chancel charge (a fee charged by the church). A lot of the time it is cheaper to take out chancel insurance, which means you wouldn’t have to pay the charge if applicable, than it is to do the search.
-
Plans Search – this provides a list of all the planning applications within a 500 metre radius of the property, however old the applications and whether or not permission has been given. It is a personal decision as to whether any of the information contained in this is of concern to you, i.e. if someone has planning permission to build across the road which would block the view that was the reason you were buying the property.
Step 3 – Exchange And Completion
Exchange is when a contract is made between the person purchasing the property and the vendor to say that the property will be sold at £x and gives details of any other agreements made for the purchase to take place. This contract will be drawn up by the solicitor you have appointed.
For exchange to take place both parties will need to have signed the contract and the buyer will usually need to have paid a 10% deposit for the purchase.
Before exchanging you should take a moment and just make sure you’re 100% happy with the purchase as if you pull out following this you are likely to lose your deposit.


You also need to make sure that the building is insured as you are now legally obliged to buy it (your solicitor should help make sure that this insurance is in place).
On exchange a date for the completion of the sale (the point at which you will officially own the property and be given the keys) will also be specified and if the sale is then delayed for any reason penalty costs will likely apply.
All that is required on completion is to pay the remaining amount owed for the purchase (your solicitor will get the mortgage funds direct from the lender and the remainder, if any, from you). Once payment has been confirmed, you can collect the keys to your new home from the estate agent.